+49 177 245 7247
info@ht-schalnas.de
Holztechniker & Tischlermeister Schalnas
Home
Küchen
Einbauschränke
Impressum
Sign In
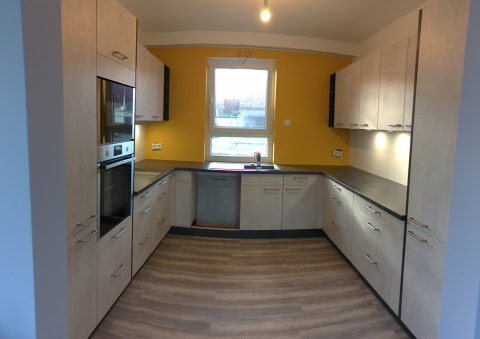
Bild1
Bild1
Detail
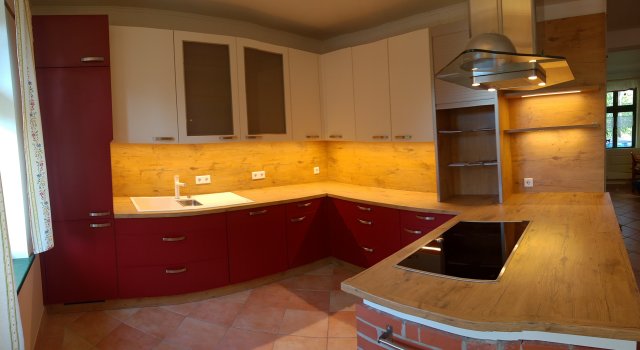
Bild2
Bild2
Detail
Titel
Reihenfolge
Sortierung aufsteigend
Sortierung absteigend
Titel aufsteigend
Titel absteigend
Datum aufsteigend
Datum absteigend
Bewertungsanzahl aufsteigend
Bewertungsanzahl absteigend
Bewertung aufsteigend
Bewertung absteigend
Zugriffe aufsteigend
Zugriffe absteigend
Objekte anzeigen
5
10
15
20
50
Alle
Start Slideshow
Stop Slideshow
Powered by
Phoca Gallery
Holztechniker & Tischlermeister Schalnas
Sign In
Home
Küchen
Einbauschränke
Impressum
+49 177 245 7247
info@ht-schalnas.de